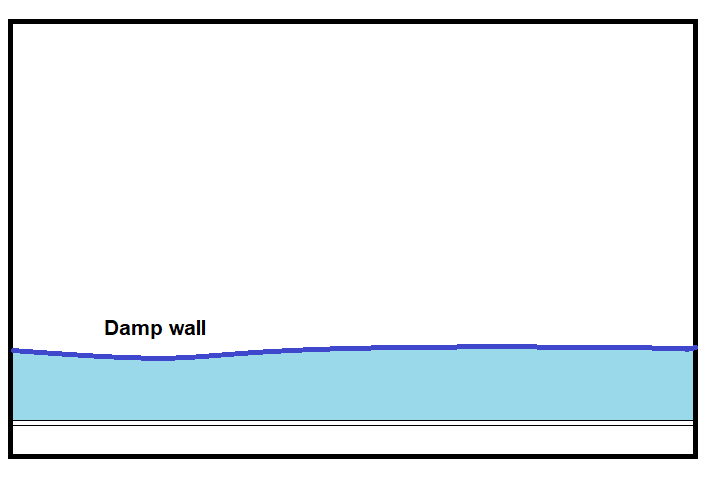
1. Wall to be worked on.
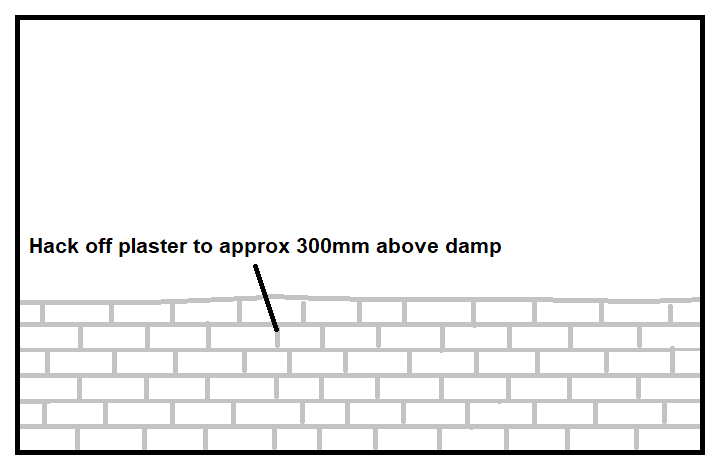
Identify areas of damp and exceed by minimum 250mm either side and above, usual heights for hacking off are 1000mm, 1200mm and 1500mm. Please note we now supply 1200mm high rolls of cavity drain membrane too!
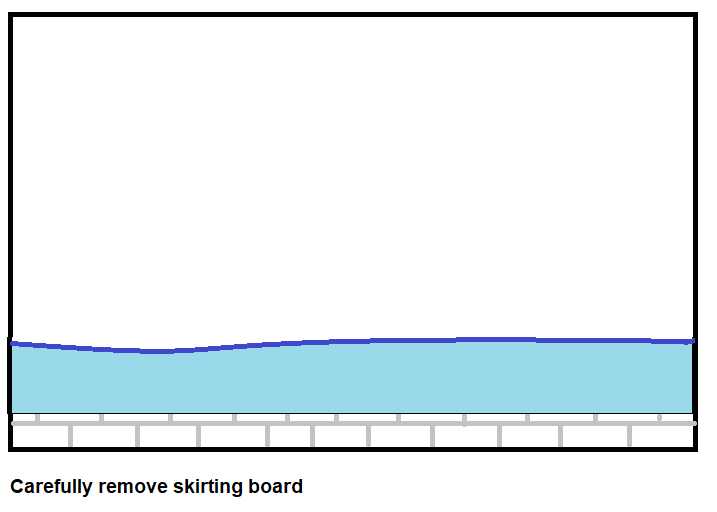
2. Carefully remove skirting board.
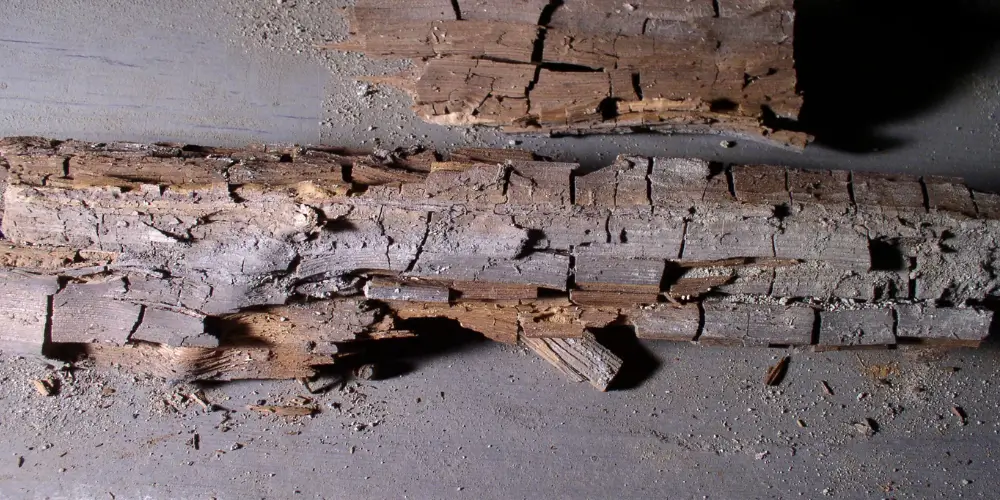
3. Carefully hack off plaster back to stone, brick or blockwork.
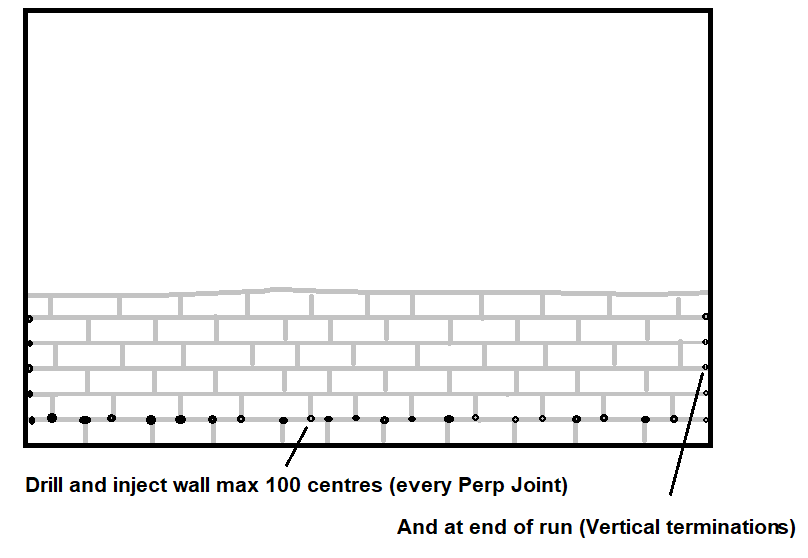
4. Drill 12mm holes 150mm over external ground level and inject DPC cream.
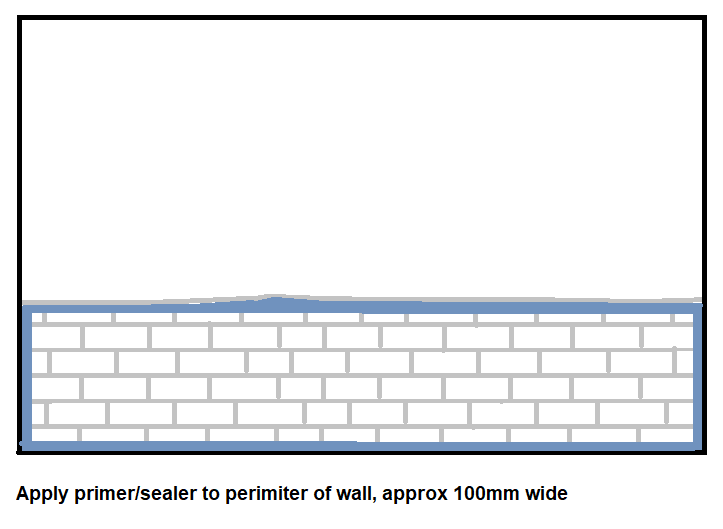
5. Apply primer sealer to wall.
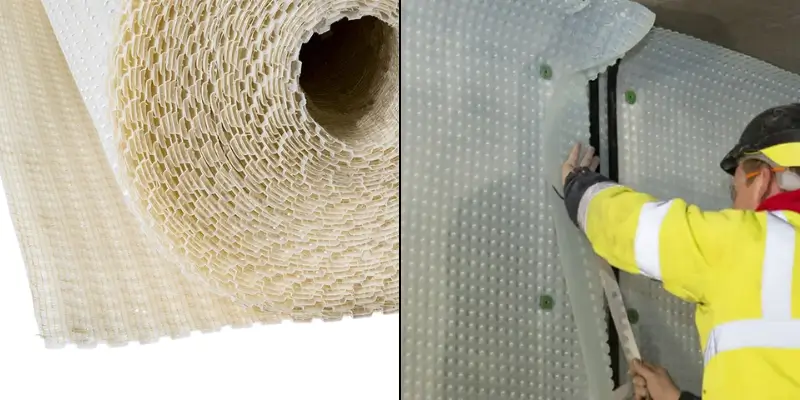
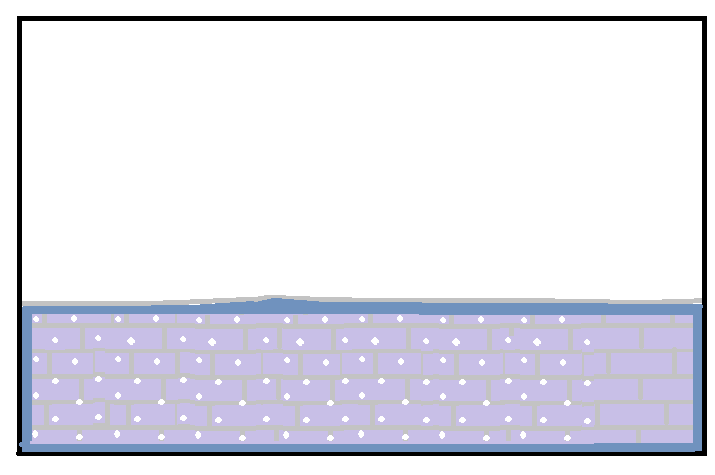
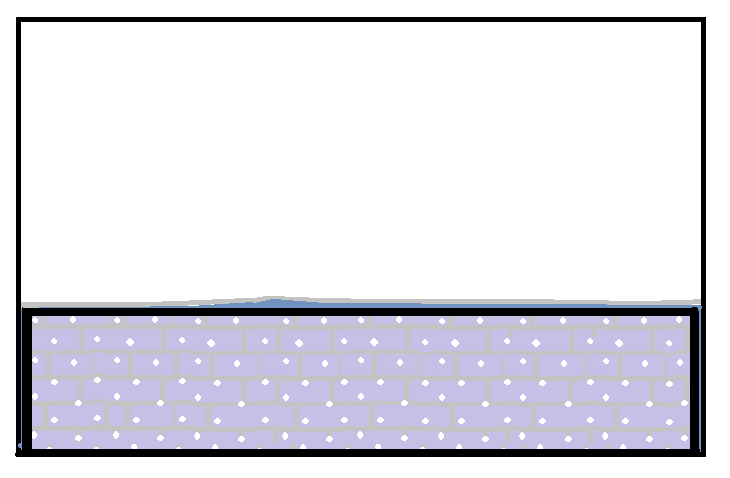
6. Affix membrane to the wall.
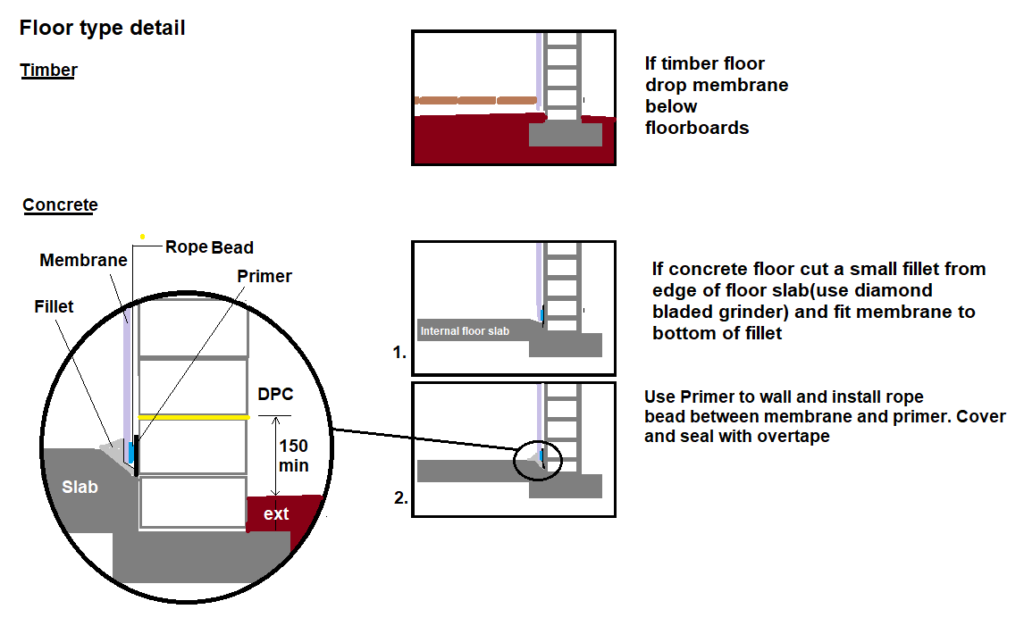
(see pic 12 – Floor Type Detail for the bottom edge of the membrane) finishing).
PB2 is Isola Membrane from Sweden and CM3 Membrane is Wykamol membrane made in the UK, both do the same job.
Depending on the area of damp you may need one of the following sized membranes,
PB2 Cavity Drain Membrane 1000mm high x 10 metres long roll
PB2 Cavity Drain Membrane 1000mm high x 20 metres long roll
PB2 Cavity Drain Membrane 2000mm high x 20 metres long roll
OR
CM3 Cavity Drain Membrane 1000mm high x 10 metres long roll
CM3 Cavity Drain Membrane 1000mm high x 20 metres long roll
CM3 Cavity Drain Membrane 1200mm high x 20 metres long roll
CM3 Cavity Drain Membrane 2000mm high x 20 metres long roll
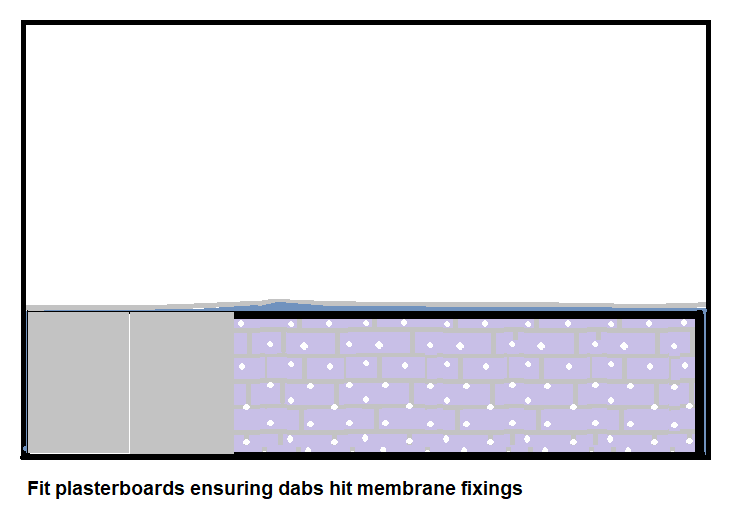
The membranes are fixed by drilling an 8mm hole through it into the wall behind, membrane fixing plugs are then wrapped with sealing rope and hammered into the holes to hold the membrane on the wall.
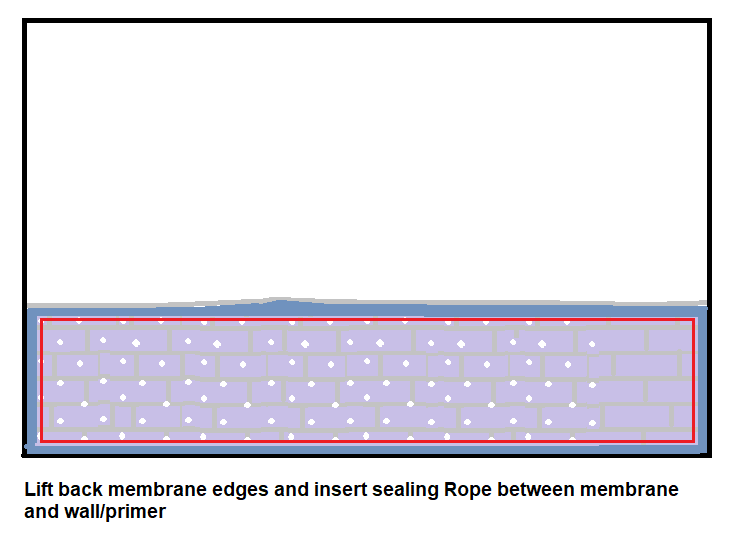
7. Affix sealing rope around perimeter of membrane and squash onto primer.
8. Affix Overtape around the perimeter of membrane half on membrane and half on primer.
9. Bond the membrane to blend with the wall.
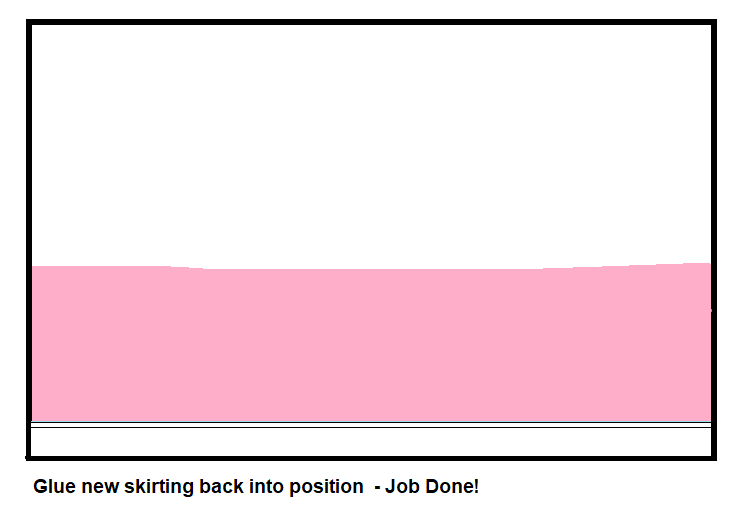
10. Check skirting for rot etc. If okay stick skirting back on with saves nails or similar.
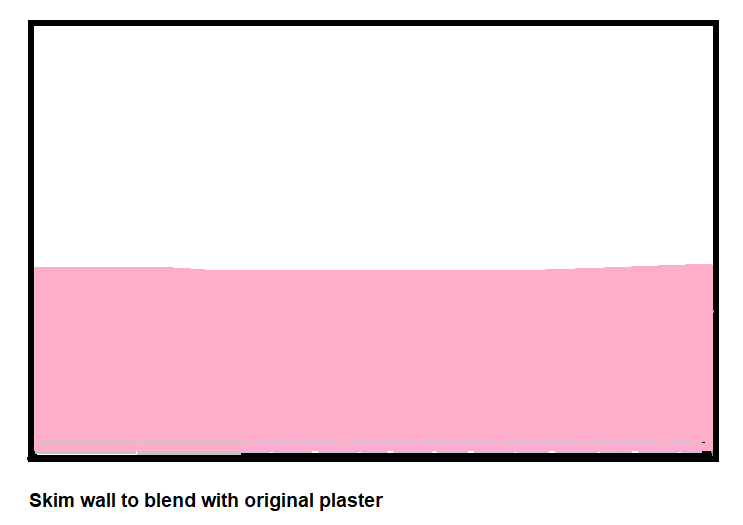
11.Skim the plaster boards to blend with remaining old plaster.
12. Floor finishing detail.